Smartphone Automation
by Kyluke McDougall, 18:02 PM - Friday 21/03/2014Tasker is an android application for users who want automation and integration to be a vital part of their smartphone.
Instead of writing a long introduction on how much your life sucks and why you should be using this application to improve it, I will get right into the nitty gritty of what this application can actually do.
Many of us are not making proper use of our smartphones and most of what we do can be automated. The way it should actually be done.
Tasker is there to give us the ability to do this. Whether you want to have your phone read out your messages while you are driving, dim display and turn phone to vibrate only at night or react to NFC tags.
Tasker either has the functionality built in or is extended via plugins (NFC for example).
Tasker is very easy to setup and use, but two things need to be taken into consideration:
- Your phone will need to be rooted for the best experience
- You will have to spend a little time getting to know the application
But once you get to grips with it, it took me 20 minutes to go from complete novice to building complex tasks, you will literally see no limit to what you can do with Tasker.
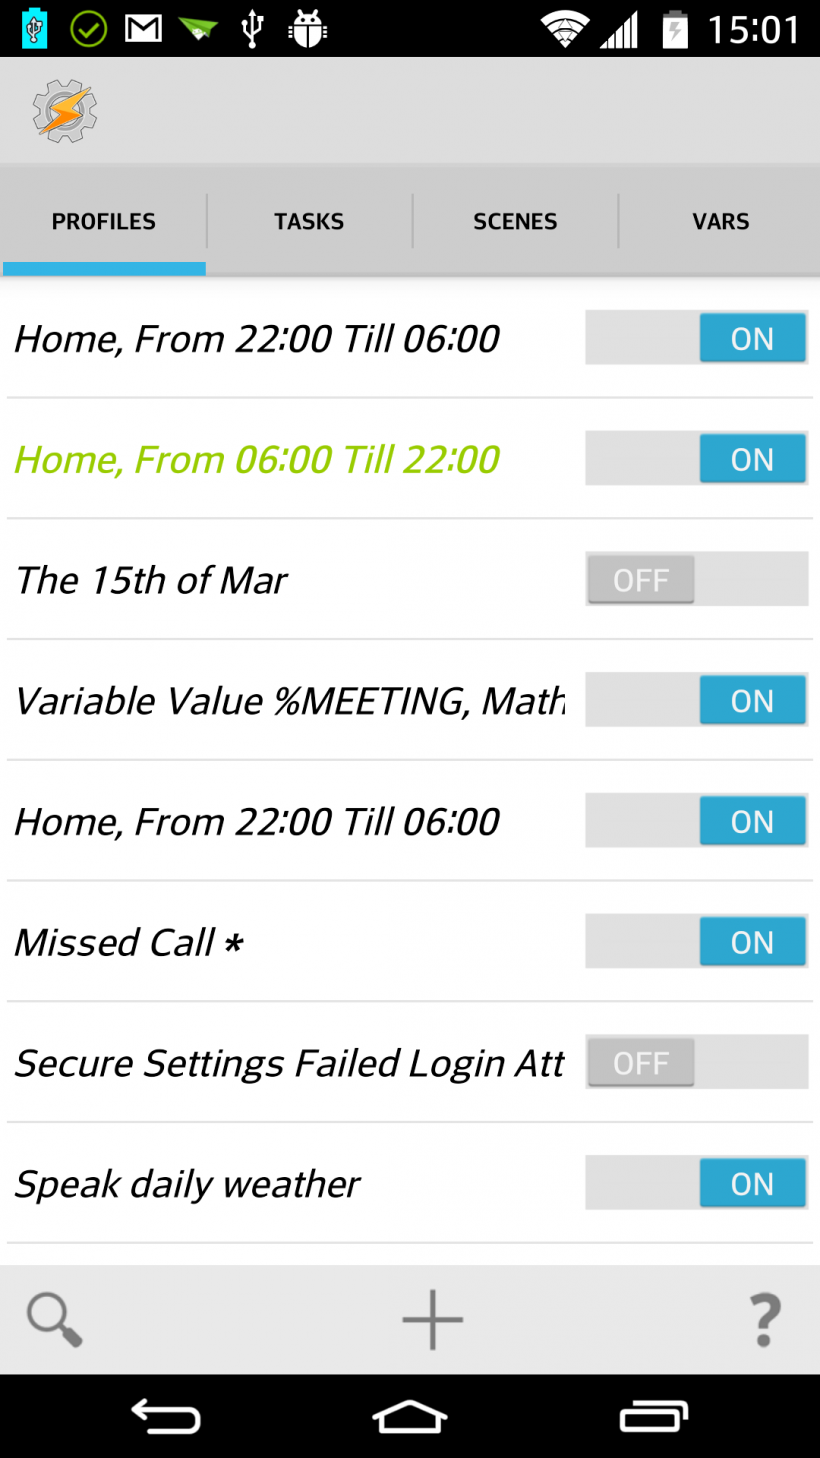
Tasker interface

1. Profiles tab
This contains all profiles within tasker. Tasker uses profiles to monitor changes to the phone. There are 2 types of tasks, a task which gets run once based on a one-time event or a task which runs continually until a state has changed.
Example continuous: Location, once you’re in a location you may want the task to change the sound mode to vibrate until you leave the location.
- Continuous tasks have: Entry tasks (gets run when task becomes active)
- Exit tasks (gets run when the task deactivate)
Example one-time: SMS received, you only want the task to run once when you receive an SMS and not continually because there is no end state to receiving an SMS.
2. Tasks
Here you can define tasks that Tasker must perform. Each task can contain multiple sub tasks (will be covered at a later stage).
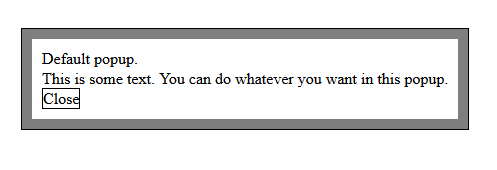
3. Scenes
Scenes are used to create a UI to allow interaction between the user and Tasker. Scenes are basically pop up.
4. Vars
Here you can define global variables for each task to use.
5. Profile
This is a profile which has been turned on and is monitoring my location and the current time. The profile will get initiated and remain active while I am at home during those times.
- This is an example of a continuous task.
6. State
This is a simple on/off button for the profile. If it is switched off, the profile will not monitor anything and will not run any tasks associated with it.
7. Profile parameters
The profile parameters are configured here. On the left we see the conditions and on the right we see the actions. You may add or remove conditions to the left side as you need them.
- The green arrow (entry task) indicates the task that will run when the profile becomes active.
- The red arrow (exit task) indicates the task that will run when the profile deactivates.
8. Active profile
Active profiles turns green.
9. Add profiles
Use this to add profiles and configure the conditions and tasks associated with it.
Once you get to grips with how the user interface functions, creating profiles and tasks is not something particularly difficult. The most difficult aspect, is determining what you need Tasker to accomplish.
Links
Tasker
Tasker variables reference guide
Projects page with basic tasks to get you jump started
Tasker plugins